About two hours

Headlight restoration in Oroville, CA

Sun-yellowed, oxidised lenses cut the light that reaches the road. We mask, wet-sand, polish and seal them so the beam comes back clear, and tell you straight when a lens should be replaced instead.

Why the lenses go yellow and the road goes dark

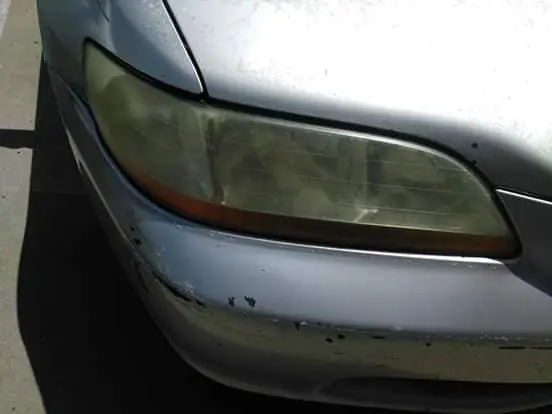
Modern headlight lenses are polycarbonate plastic, and the sun is hard on it. UV breaks down the clear coat, the surface oxidises, and the lens turns yellow and cloudy. The bulb behind it has not changed, but a good share of its light now stops at the lens instead of reaching the road.

You tend not to notice it happen, because it happens slowly. Then one night drive on a dark Butte County road and you realise you are seeing less than you used to. In the shop's own words: “over time, our headlights are worn out by the elements and need a little TLC.”
Mask, wet-sand, polish, seal

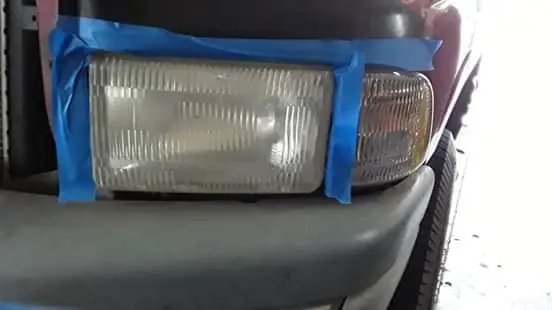
We start by masking the paint and trim around each lens so the sanding stays on the plastic. Then the lens is wet-sanded to take off the dead, oxidised layer, working through finer grits until the surface is evenly smooth instead of patchy.

Next comes polish, which brings the clarity back, and last a seal over the top. The seal matters as much as the sanding: it is the new protective layer that stands in for the factory coat the sun already ate.

Dee Ann had hers done here, and wrote that the headlights “turned out looking brand new”, that it took 2 hours and $50, and that it was well worth it. Those are her numbers from her review, not a price list, so call for what your vehicle needs.

Keeping them clear, and when to replace instead

A sealed lens holds up best when you keep it clean and out of the harshest sun when you can. Park in shade or a garage if you have one, and wash the lenses with the rest of the car so grit does not scratch the new surface.

Not every lens can be saved. A cracked lens, or one that has fogged on the inside, has a problem that sanding cannot reach, and we will say so instead of polishing something that will fail again. Those get replaced.

We stand behind our work with a warranty on parts and workmanship, ask for details. And if you have a windshield job coming, the headlights can be handled on the same visit.

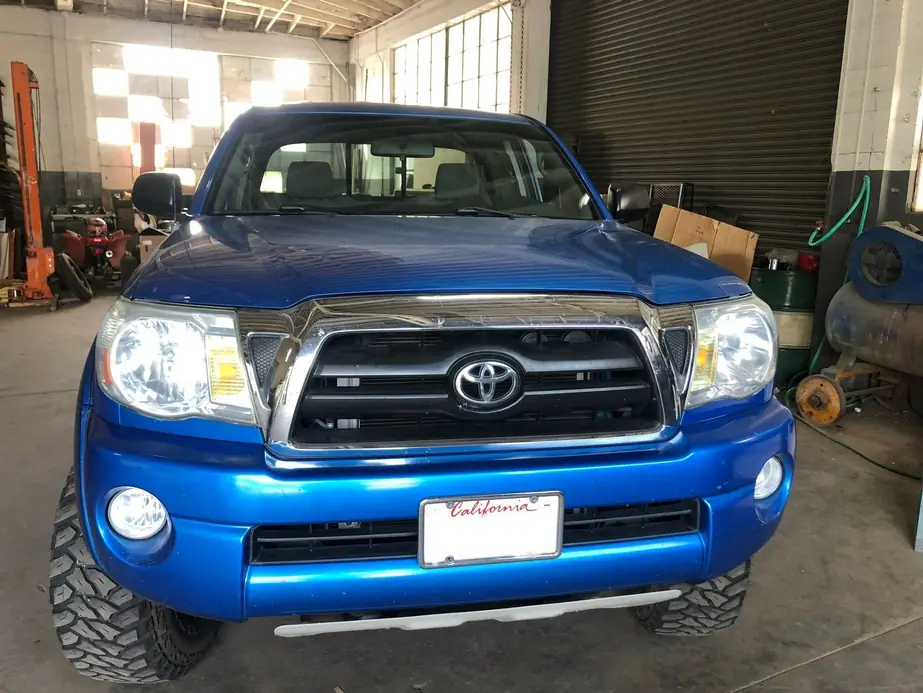
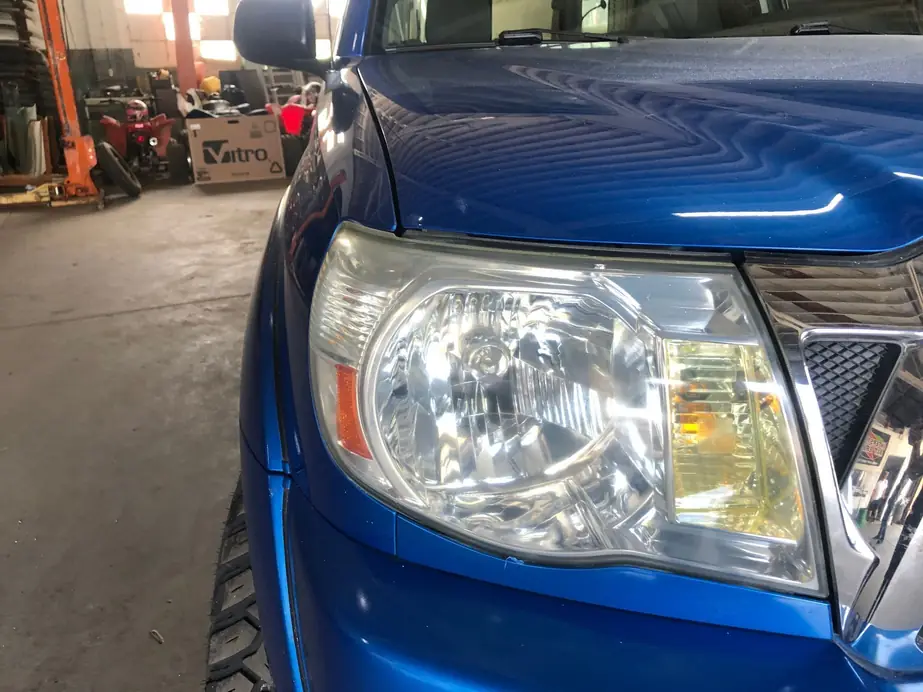
Restored clear headlight on a blue Toyota Tacoma

Restored clear headlight on a blue Toyota Tacoma

Pre-approved with all insurance companies. Dee Ann, on Google: headlights restored, looking brand new, 2 hours and $50. Warranty on parts and workmanship, ask for details.

Lens to lens

From oxidised to clear, in four frames

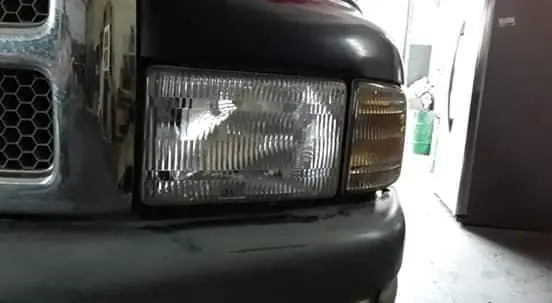
The stages of a restoration, from a yellowed lens through the taped-off work to a clear finish on two trucks.

Oxidised, yellowed headlight lens before restoration
Oxidised lens, yellowed by sun
Headlight taped off around the lens for restoration
Lens taped off, paint masked before sanding
Clear headlight on a truck after restoration
Clear lens on a truck, restored
Blue Toyota Tacoma in the shop bay with restored headlights
Tacoma in the bay, both headlights restored clear

Sand it or swap it

Which side of the lens is the damage on?

Restoration only works on damage that sits on the outside of the plastic. Look at your own lens in daylight and you can usually tell which kind you have before you call.

If you are not sure, send us the year, make and model and describe what you see on the lens, and we will tell you which way it is likely to go.

  • Restore

    Yellow, hazy or chalky on the outside

    This is sun and weather working on the surface of the plastic. Sanding, polishing and sealing takes that layer off and puts a clear one back.

  • Replace

    A crack in the lens

    A crack lets water in and no amount of polish closes it. The lens or assembly is the part that has to change.

  • Replace

    Fog or moisture inside the lens

    If the haze is on the inside, there is nothing on the surface to sand. The seal has failed and the lens needs replacing, not buffing.

Worth doing in the same visit